Google Search Console: everything you need to know about
22 September 2016 Leave a comment ALL-HANDS SEO
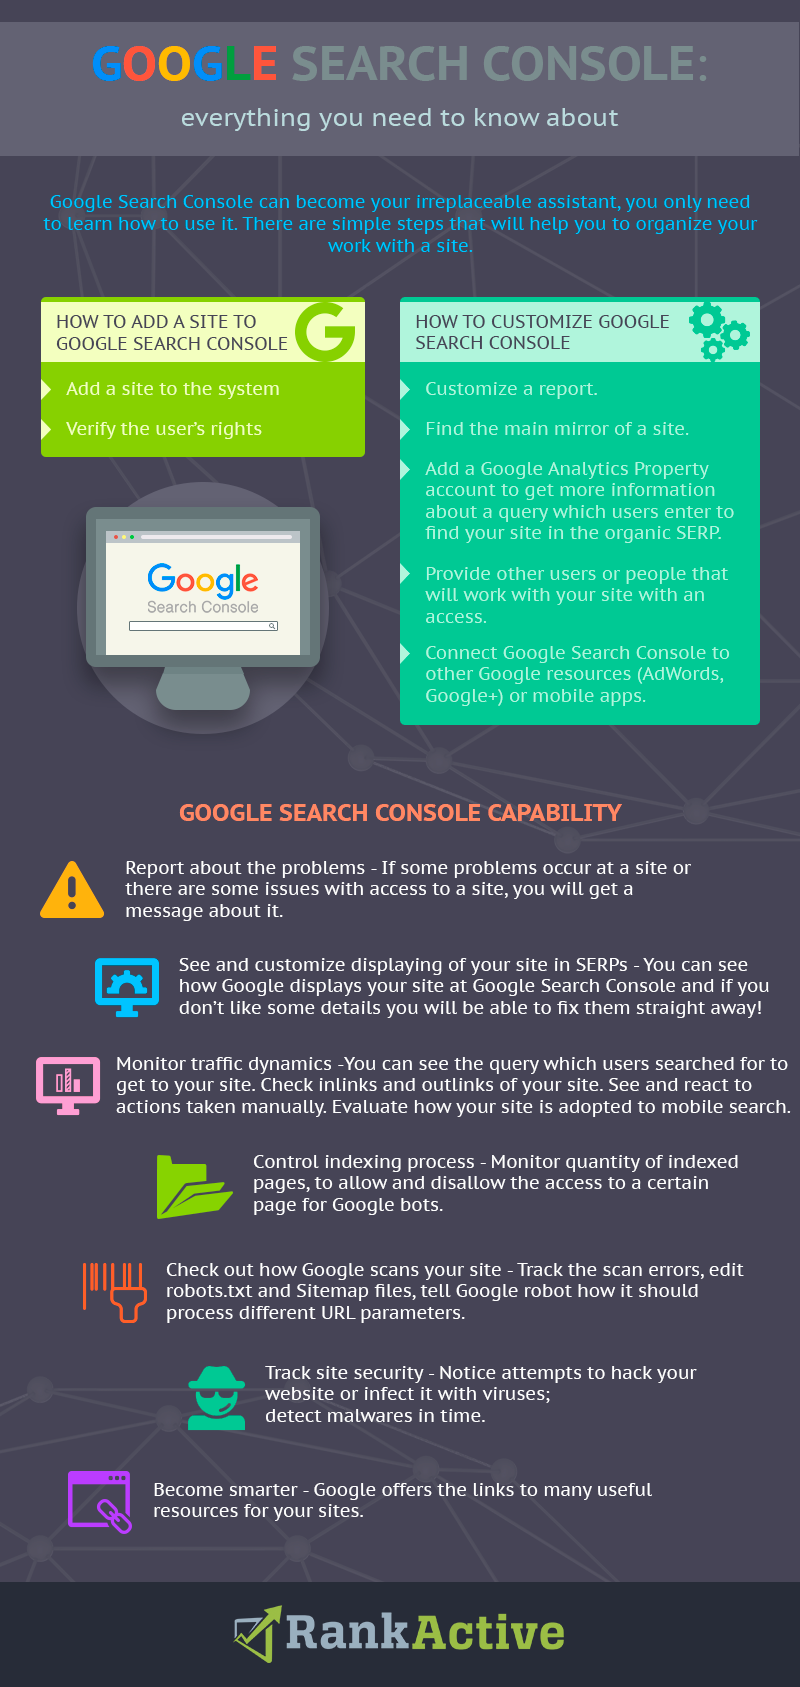
Google Search Console is a multifunctional tool which can help to solve a huge amount of tasks. It helps to find and eliminate technical errors and defects on a website, work on its optimization, monitor the visibility of it and see how a project is represented in Google SERP. Let’s try to figure out how to use this undoubtedly necessary tool.
Adding your website to Google Search Console
To start your work with Search Console you should, of course, add your website’s domain. It is very easy to do. For the start, a user enters website URL and clicks the Add Property button. After that, you have to verify the right of site management. It is possible to complete this action in the recommended or alternative way. If you have an access to the server then it is better to choose the recommended way. If you don’t, then use one of the methods, listed below:
- HTML file upload – to use this method you should select “Manage site,” then “Verify this site”. After all is done you will be asked to download HTML file. Don’t change the name of the file or the entire file itself. If you do anything, Google Search Console won’t be able to check the website. To complete the next step, go back and click “Verify”. If everything is done correctly then you will see a confirmation page.
- HTML tag – for this, please, select “Manage site,” then “Verify this site”. Next, copy HTML code and paste it to the <head> section at the website.
- Domain name provider – using this method, you confirm not only your rights for the main domain but also for all subdomains. When choosing a “Domain name provider” you will be asked to select your provider’s domain name from the list of the most used providers, like GoDaddy.com. If your provider is not included in the list, just choose “Other” and you will get instructions how to create DNS record in the TXT format for your provider. If it doesn’t work, you will have an ability to create CNAME record instead.
- Adding Google Analytics code – if your Google Analytics account is connected, it will be easy to customize Search Console. Make sure that the Google Analytics code is added to the <head> section of your website. Then select “Manage site,” then “Verify this site”. After the website checking is done don’t delete Google Analytics code.
- Google tag manager – if you use Google Tag Manager, you are able to connect Search Console by using it. Make sure Google Tag Manager code is placed aftertag. After this select “Manage site,” then “Verify this site”. Don’t delete Google Tag Manager after you have connected to Search Console.
You should remember that it is better to use the same Google account to control your website’s performance. It means that both Google Analytics and Google+ should be assigned to the same account as Search Console is. Add and verify both versions of the website, with and without www. I will explain a bit later why it is necessary.
Please note! Google occasionally checks rights of the owner. Make sure the information that you’ve used for verification is still there available at the website.
How to correctly customize Google Search Console
After you have verified the rights to manage a website, go to its toolbar and open the settings tab. To the right, there is a drop-down settings menu that has gear icon. It has such points:
- Search Console Preferences – here you can customize a report. By default, it will be sent once a month.
- Site Settings – using this section you can specify which site mirror – with or without www – will be the main one. In most of the cases, search engines detect the right mirror by themselves, but it is better to avoid taking any risk and leave some instructions. To select the main mirror you should add and verify the rights for the both versions. There is no other way to select the main one. If you forget to do this when adding your website, add the second mirror and verify the rights. The update rate is better to leave for Google consideration.
- Change of address – you will need this tool if you decide to change your site URL.
- Google Analytics Property – here you can choose Google Analytics account that you need from the list of available accounts. It will let you receive more information about queries that users enter to find your website in the organic SERP. If you combine the reports in both tools, they will be more informative.
- Users and Property Owners – thanks to this tab you will be able to provide an access to another account. For instance, you may need it for SEO-company where you want to order the website optimization. For this, you should enter a website URL, specify what kind of an access you want to provide: full or limited. If you doubt what kind of access to choose, click the informative link to know what possibilities each of the kinds gives.
- Verification Details – in this tab you can find the information about verification of the owner’s rights: which sites are verified, when the verification has been made, in what way it was made. You can check all the information to make sure that you are added there as the owner.
- Associates – here you can connect Google Search Console to other Google resources (AdWords, Google+) and mobile apps. If you have such resources and still use them, it is better to connect them.
Google Search Console capability
Now let’s try to figure out what possibilities Search Console has.
1Information messages is very useful Google Console possibility. If you have problems with your website or its access, you will be notified. Always check if you have new messages.
2Search Appearance – in this tab you can see the information about the way Google displays your website in the SERP.
- At Structured data the semantic markup of a website is analyzed to detect possible errors in it. If your website is displayed incorrectly – you will see it.
- In the same tab you have a possibility to customize the displaying of your website in the SERP. You should use “Google Data Highlighter” tool that lets you organize structure of markup without code changing. It is a great decision for small projects when an owner doesn’t have an ability to hire a developer or time to discover all details of site code. For your website you can add markup to the code or Data Highlighter tool. There is no possibility to use both methods.
- HTML optimization – in this tab you can check if your website has on-page errors. There can be such issues as: too long or too short meta descriptions, duplicate descriptions or titles, indexing errors. This information is really important that’s why you should always monitor and eliminate HTML code issues on your website.
- Links to your website – you are able to define the links that lead to website sections in the SERP.
- Fast-loading pages for mobile devices.
3Search traffic – this section has information about website traffic, its analysis, sources. You will be able to monitor dynamics of optimization process.
- Search Analytics allows you to receive the main information about your website visibility and visits. Google Search Console, unlike Google Analytics, emphasizes a representation of website in the SERP. At Search Analytics you will find the data for: clicks, impressions, CTR, average position and queries. I want to remind you, to get the full set of the information it is necessary to connect Analytics to Google Search Console. The last one doesn’t have many tools but provides the main methods for data analysis.
- Links to your website – you will find the links that lead to your website which Google bot found. As usual, not all the links are displayed but the list is big enough and, if it is necessary, it’s possible to export it for the detailed analysis. In this section you can also find such information as:
- overall links amount;
- what websites and pages link to your website;
- what pages of your websites are linked to;
- what anchors (text) links have.
If you click the link you are interested in or click “More”, you will get more details. Also, after this action you will be able to download the information.
- Internal links – here you can find out how your website structure looks like and also what internal links it has. If most of them lead to secondary pages and the main ones are ignored – then there is a need to overview the site structure.
- Manual actions – if your website became an object of manual sanctions from the Google side, this will be shown in the section. The reasons for manual actions:
- hacked site;
- user-generated spam;
- spammy freehosts
- spammy structured markup;
- unnatural links to your site;
- thin content with little or no added value;
- cloaking and/or sneaky redirects.
- International targeting – you will need this tab if your website is designed for users in a specific country speaking a specific language. Here you can find the information for hreflang attribute setting. Also, you are able to find out to which country the site is relevant to.
- Mobile usability – mobile optimization of a website for mobile search was one of the main topics of the latest reports and meetings with Google representatives. From something in mind to something in kind. You can estimate how well your website is adapted to the mobile search at Google Search Console.
4Google Index – here you are able to control the indexing process of your website by Google.
- Index status report shows the information about your site’s pages that have been indexed by Google. Do your best to have firm in position amount of these pages. Or, even better, work on increasing their amount.
- Content keywords section shows the most significant keywords on your website. Check if any of keywords from the list are irrelevant, or how close to the top of the list the keywords you use for SEO are. By clicking on a word you get some information about its variations and also see the list of pages where this word has been found. Pages URLs will be useful – you can delete unnecessary words or information.
- Block content – here you can find those files the access to which Google recommends to provide. At the section you will see a chart, and also a list of hosts after clicking on which you will get a list of sources with denied access. If you click on a link of a blocked source, you will get a list of pages that can’t be indexed because of the denied access.
- Remove URLs tool helps to speed up the deletion of those pages you don’t want to have in Google’s SERP.
5Crawl – here you can find out how Google bot crawls your site.
- Crawl errors section shows the list of technical errors that Google bot detected while crawling your website. Just like in other tabs, you can see the details about a certain error detected on a page by clicking on it. Also there is an explanation why the error occurred. If you haven’t eliminated any technical errors on your website before, their amount may be impressive. Please note:
- A great amount of errors doesn’t mean that your website has no future. It is necessary to eliminate the errors to avoid ranking problems.
- Firstly reasons of errors should be eliminated. Only after this you can start to deal with errors themselves. For instance, by deleting unnecessary pages from the index.
- Eliminate the errors that are found on the pages that are being promoted foremost.
- Sometimes pages which caused errors do not exist. It will be definitely hard to deal with such problems. The best decision is to wait for the update of information for a certain page.
- Very often errors can be caused by incorrect links from the site map. Make sure the information on your website is up-to-date.
- Preview how Google gets your content – using this tool you can check how Googlebot sees your page, find out if all the page content is available for the indexing process. Also you can change the type of Googlebot to analyze website displaying on different devices.
- Check robots.txt – here you specify robots.txt file for your website. Also, you can find out if it contains any mistakes.
- Manage sitemaps with the Sitemaps report – this section allows you to add sitemaps. If they are already added, you can check if they have any errors or warnings.
- Ask Google to crawl URL – this tool gives you an ability to define Google’s work, how it should process different website URL parameters. You can delete some of URL but only if you are 100% sure you need it.
6Security – you will receive a warning if there are viruses or malware detected on your website.
7Other resources – here Google has provided the information for other resources that can be useful for a website development. There is a description next to each link, that will help to understand if you need it for your project or not.
Google Search Console is a convenient and free tool which will be helpful not only for errors eliminating but also a website optimisation. It is necessary to check all the console sections once or twice a week and fix the issues if they are detected.
Tags:
Like this article? There’s more where that came from.
- YouTube Hacks Your Online Marketing Agency Can Implement to Boost Video Rankings
- When Less is More: Why We Decided to Remove Backlinks and Link Manager Features
- How to increase your CTR using Schema.org
- How to Get Out of Google Sandbox and Do It Quickly?
- Geolocation Redirect 101: How to Secure Your SEO Localization Efforts?
- Your Ultimate Guide to SEO Reporting with RankActive
- Your 7-Step Guide to Increasing Page Speed
- How to Do SEO Competitor Analysis? Your Checklist for 2019